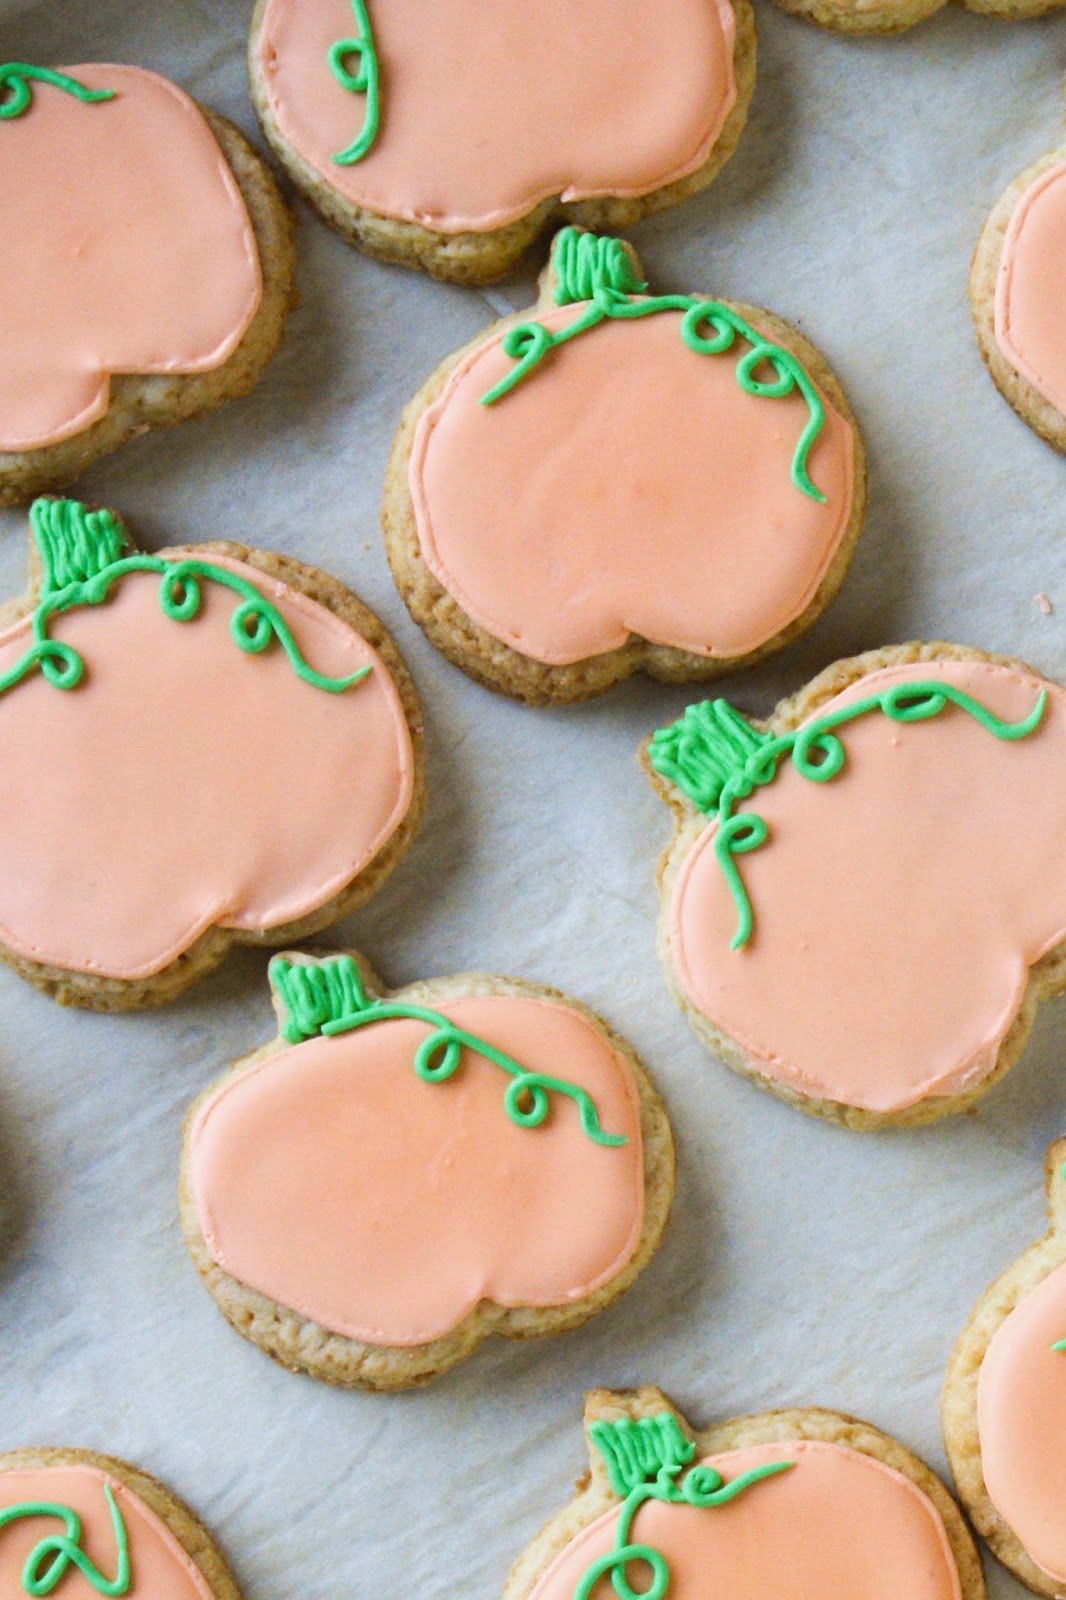
So it's pumpkin season, and I'm taking part enthusiastically this year. I don't usually like pumpkin, mostly because I haven't really given it a chance. I just wrote it off as gross after a really bad store-bought pumpkin pie. I made my first pumpkin pie this year for thanksgiving and actually liked it. Also I received a pumpkin from someone last week and I'm going to prepare it tomorrow which is really exciting for me because I haven't done so before. Do you make your own pumpkin puree?
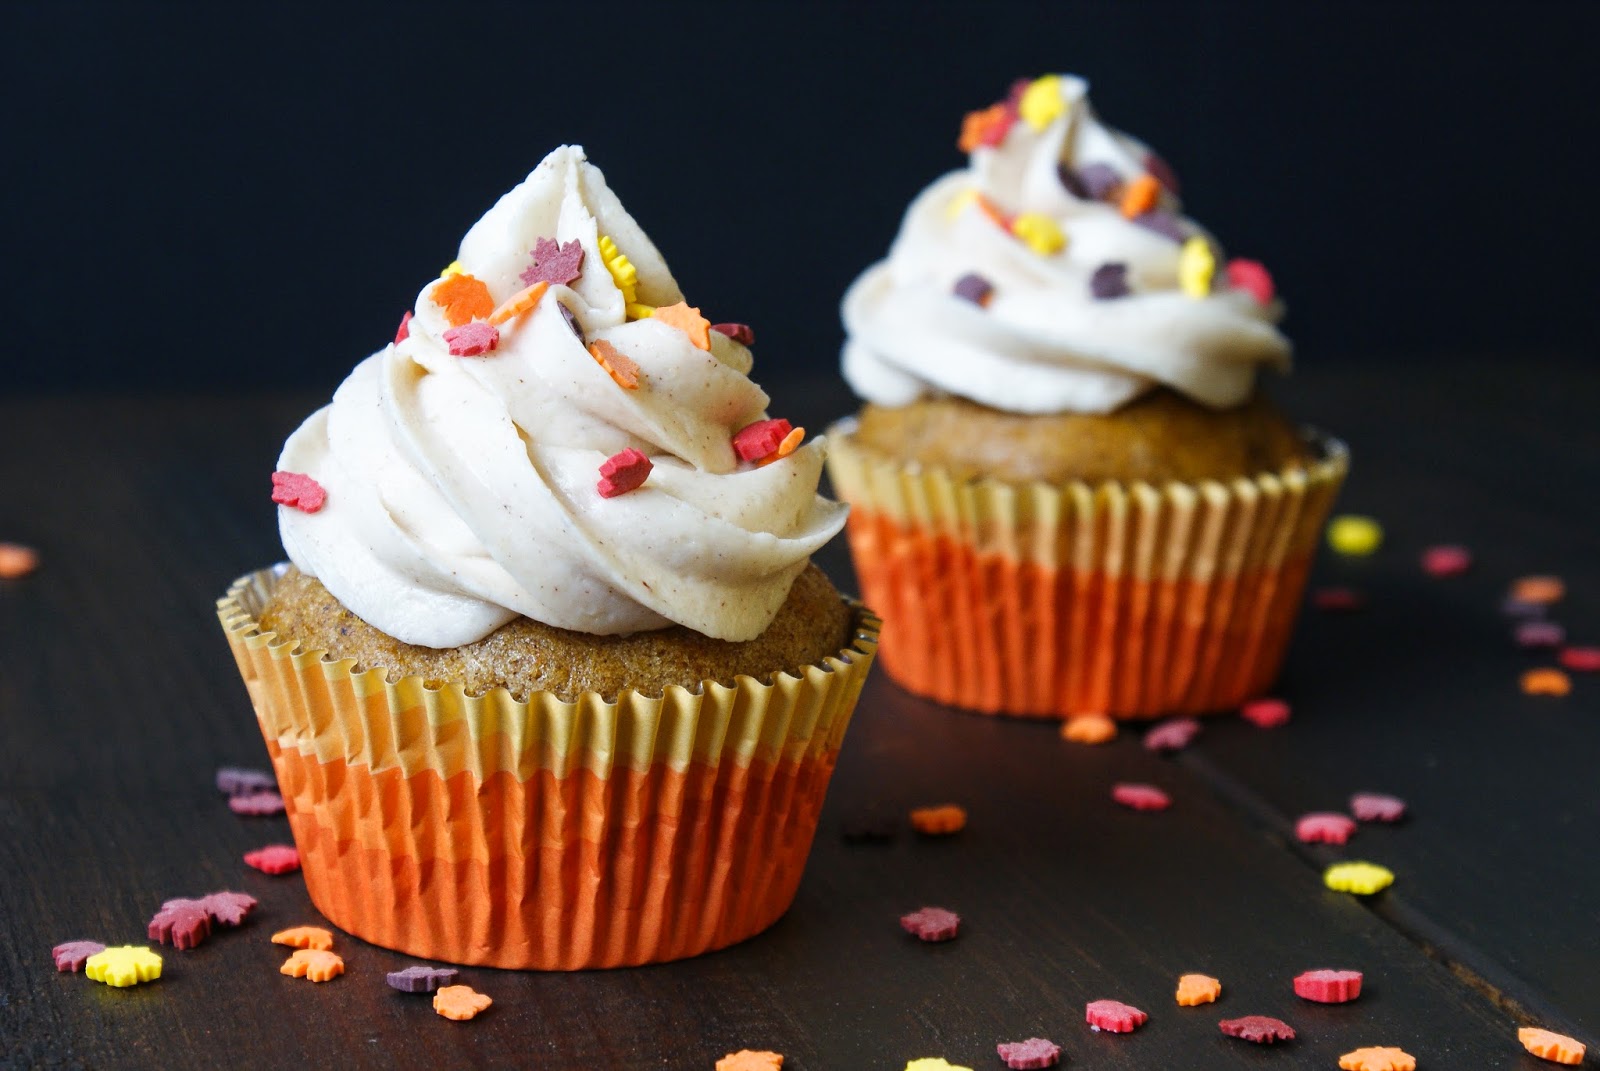
I brought these to my parents going away dinner a few weeks ago and everyone there liked them. It really makes me so happy to come up with gluten free replacements for everything I used to eat, even when things like a cupcake aren't things I'd eat everyday. There is such comfort in knowing I can make them whenever I want, and that they will taste just as good as one made with wheat flour.
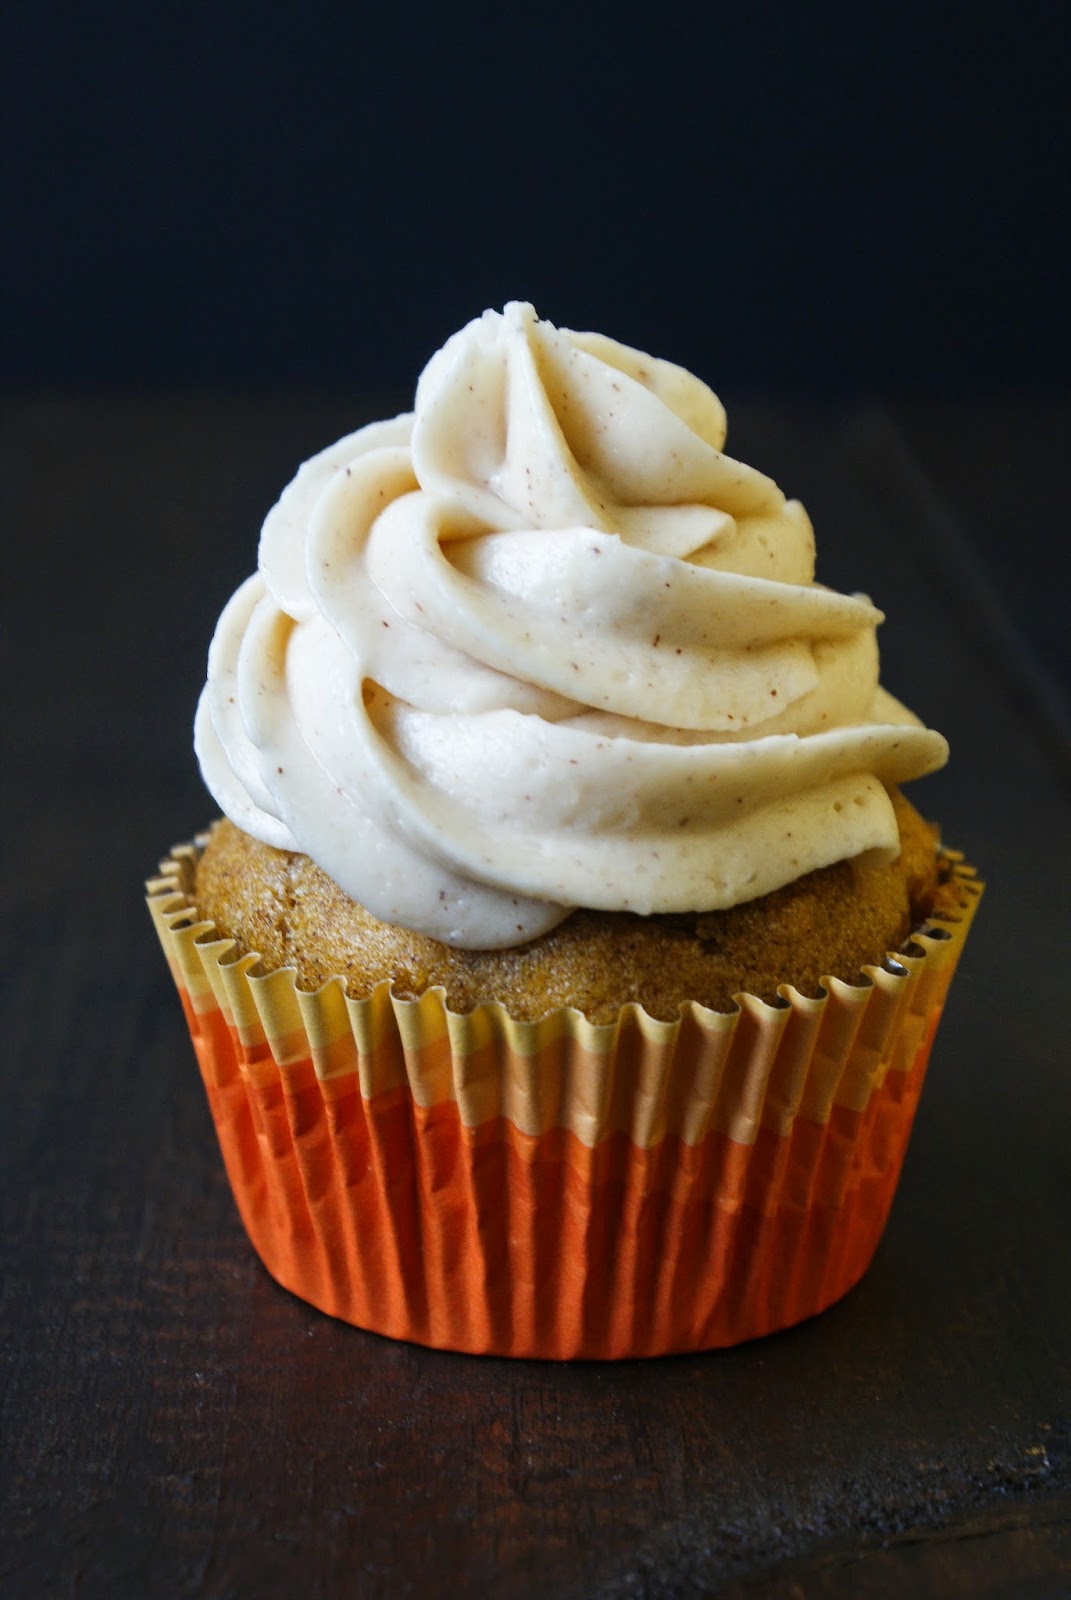
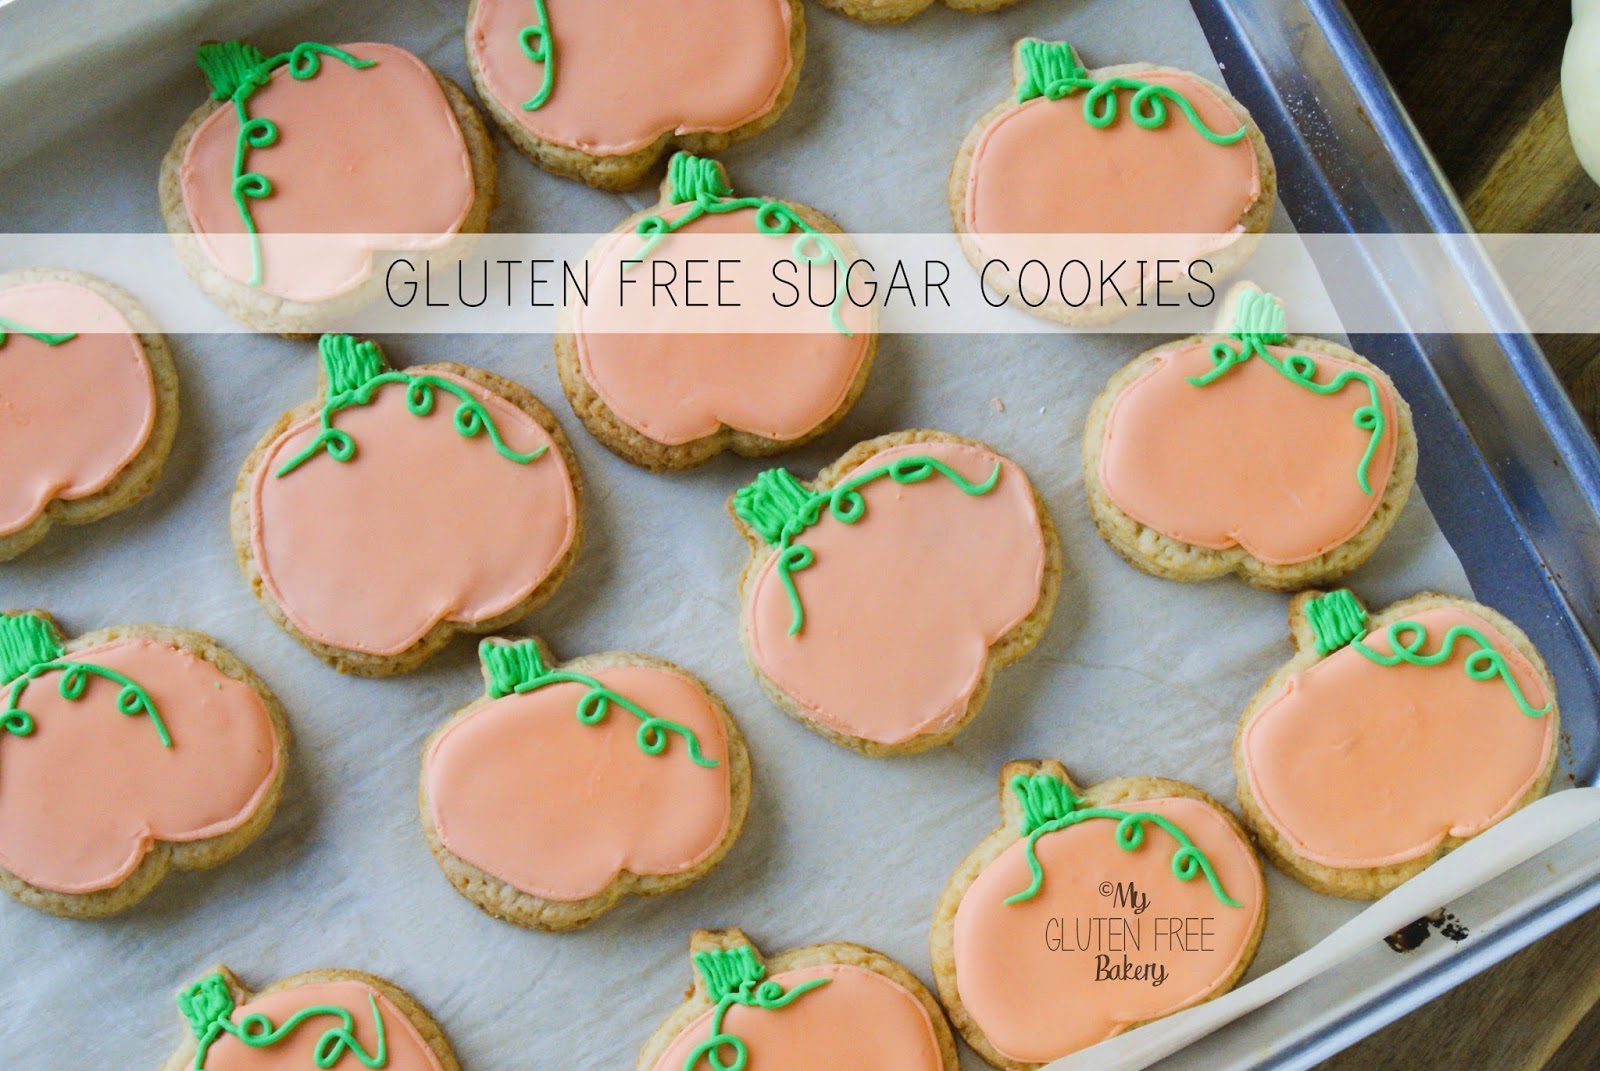
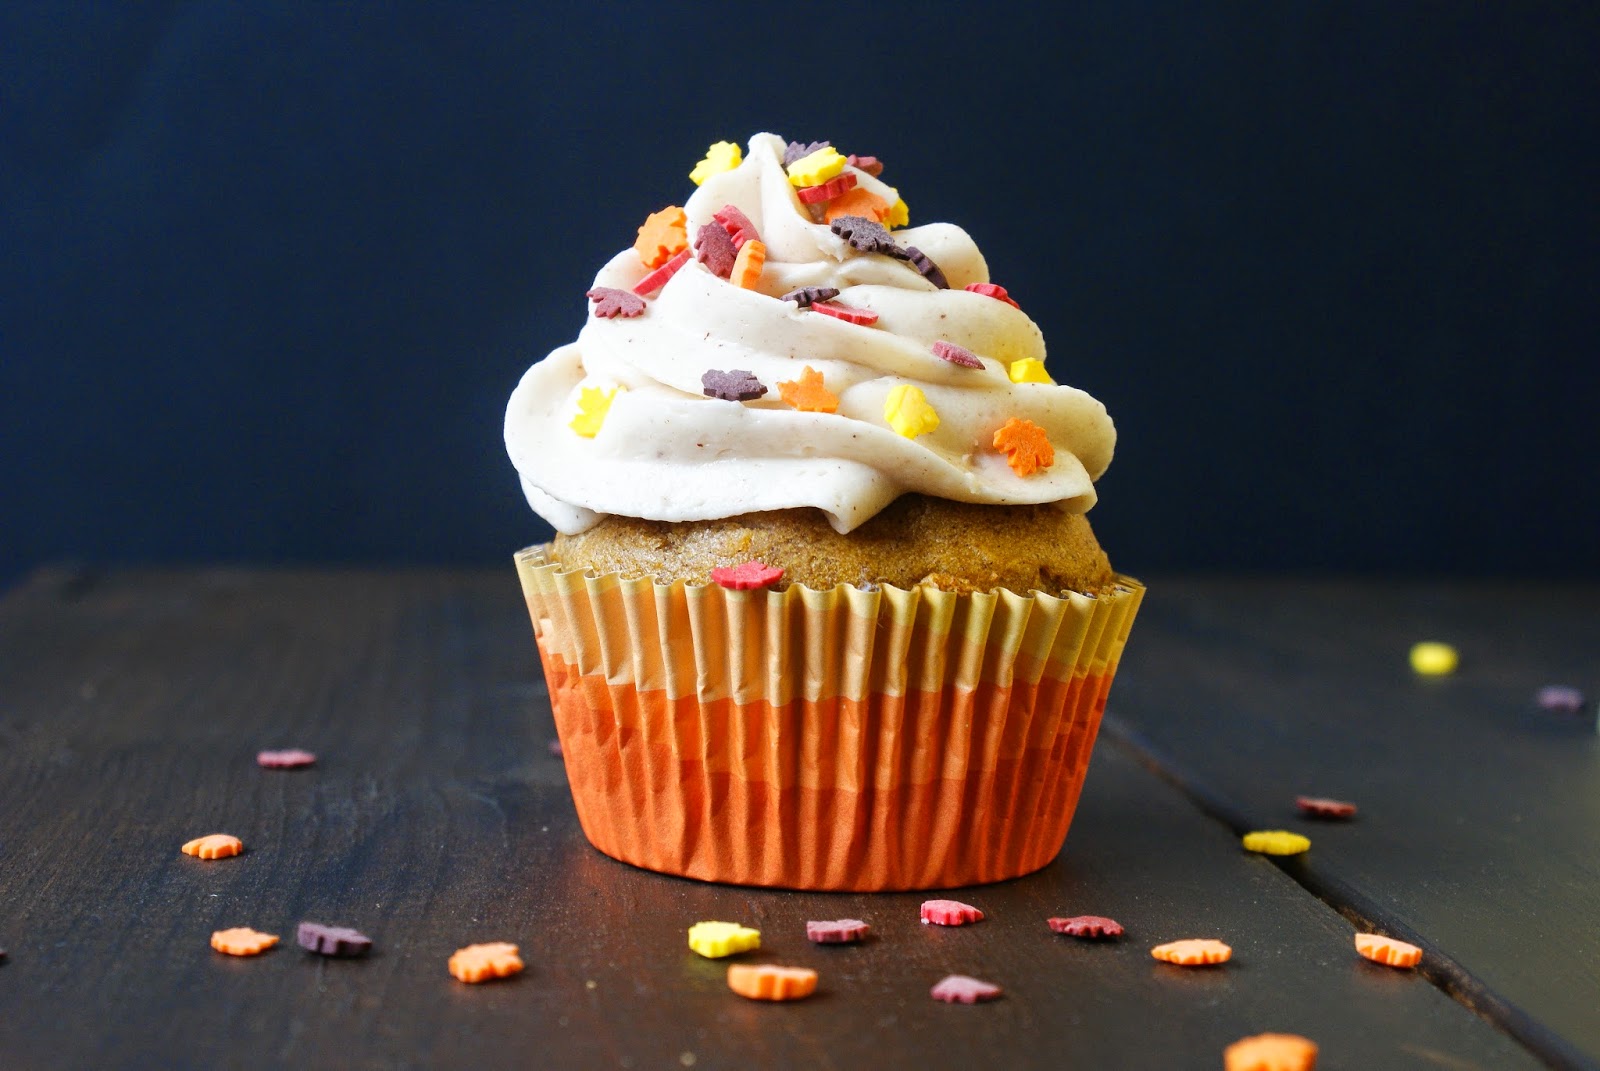
Yes, this post is picture heavy, because of course these cupcakes tasted good, but look how CUTE they are too! Perfect for bringing out to an event.

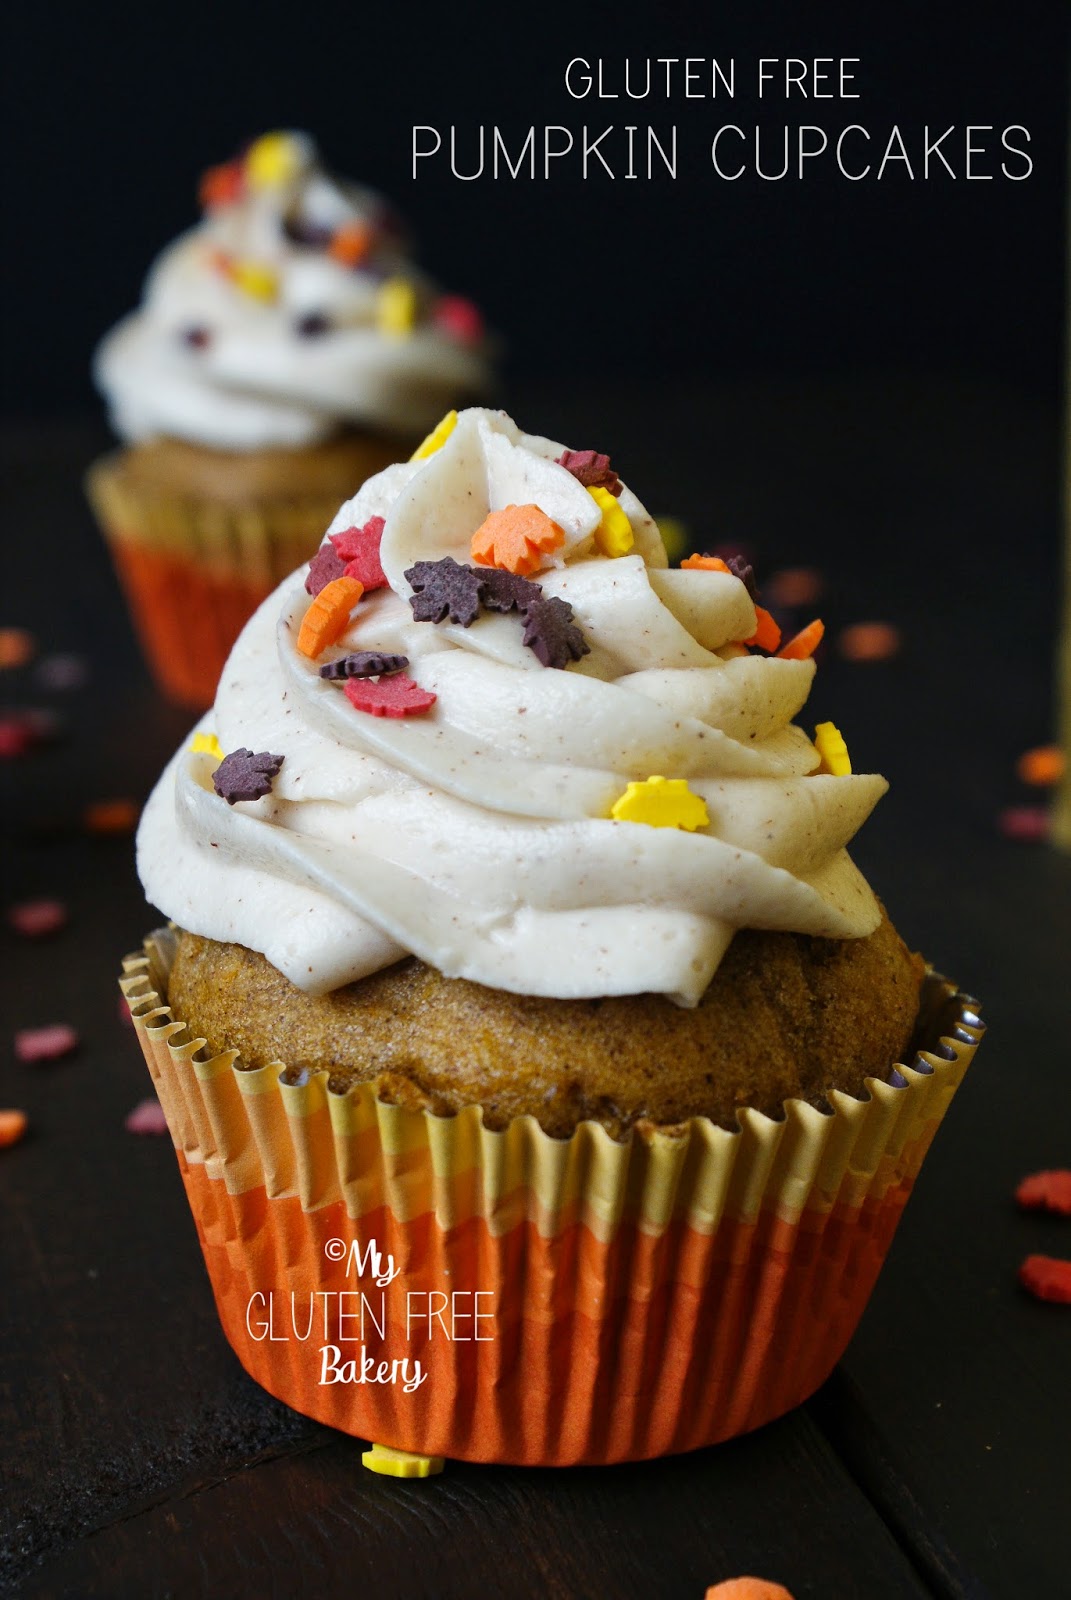
Gluten Free Pumpkin Cupcakes
Pumpkin Cupcakes

Prep Time:
Cook Time:
Yield:16-18 cupcakes
Ingredients:
- 280 grams all-purpose gluten free flour
- 1 teaspoon xanthan gum if your mix doesn’t include it
- 1 ½ teaspoon baking soda
- ½ teaspoon baking powder
- 2 teaspoons pumpkin pie spice
- 1 teaspoon salt
- 113 grams butter, at room temperature
- 1 cup sugar (or coconut sugar, xylitol, or ½ cup truvia)
- 2 large eggs
- 1 teaspoon vanilla extract
- 1 cup pumpkin puree (canned)
- ½ cup milk with ½ teaspoon vinegar (or half cup buttermilk)
Instructions:
- Preheat oven to 325 and line muffin tin with paper cups.
- Combine dry ingredients in a small bowl.
- Cream together butter and sugar until very light in color and fluffy.
- Add eggs one at a time, and mix to combine.
- Add vanilla, pumpkin and milk and mix again.
- Add dry ingredients, half at a time, mix until flour is incorporated.
- Fill muffin cup with batter, just over halfway.
- Bake until done (about 20 minutes). Check for doneness with a toothpick – they are done if the toothpick comes out with a few crumbs, no wet batter.
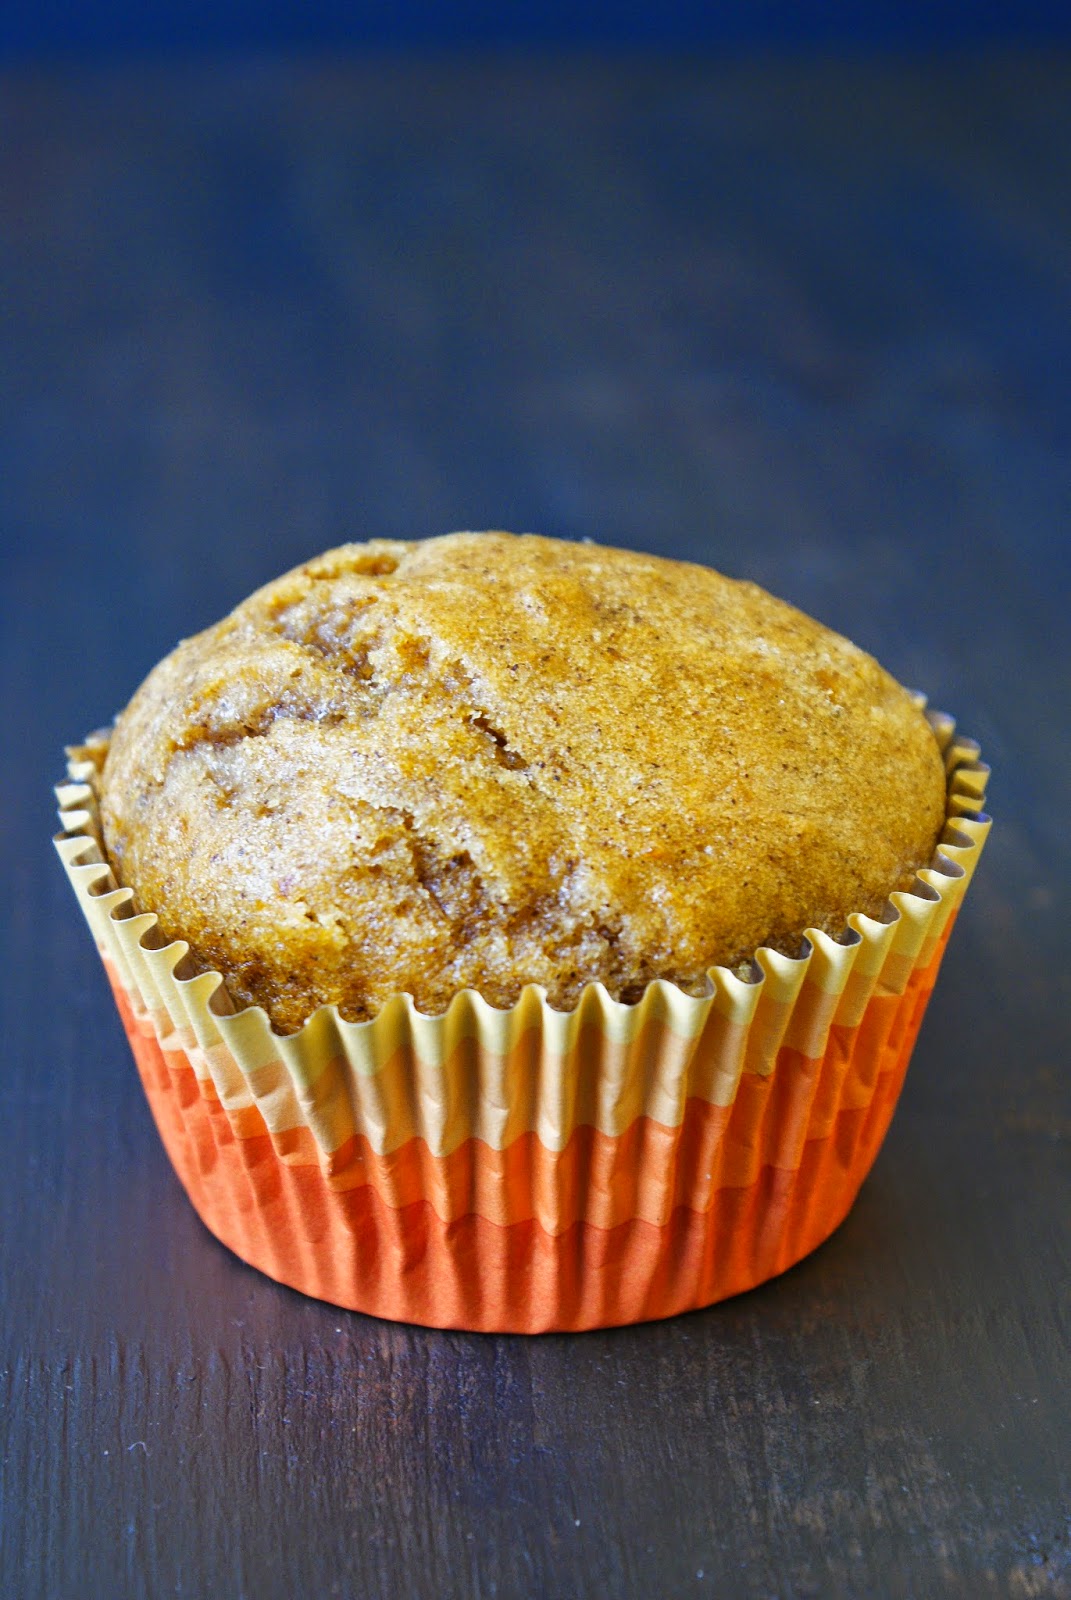
- Let cool, and then serve as is, or top with icing for a sweeter treat. In the photos, I topped them with cinnamon cream cheese buttercream.